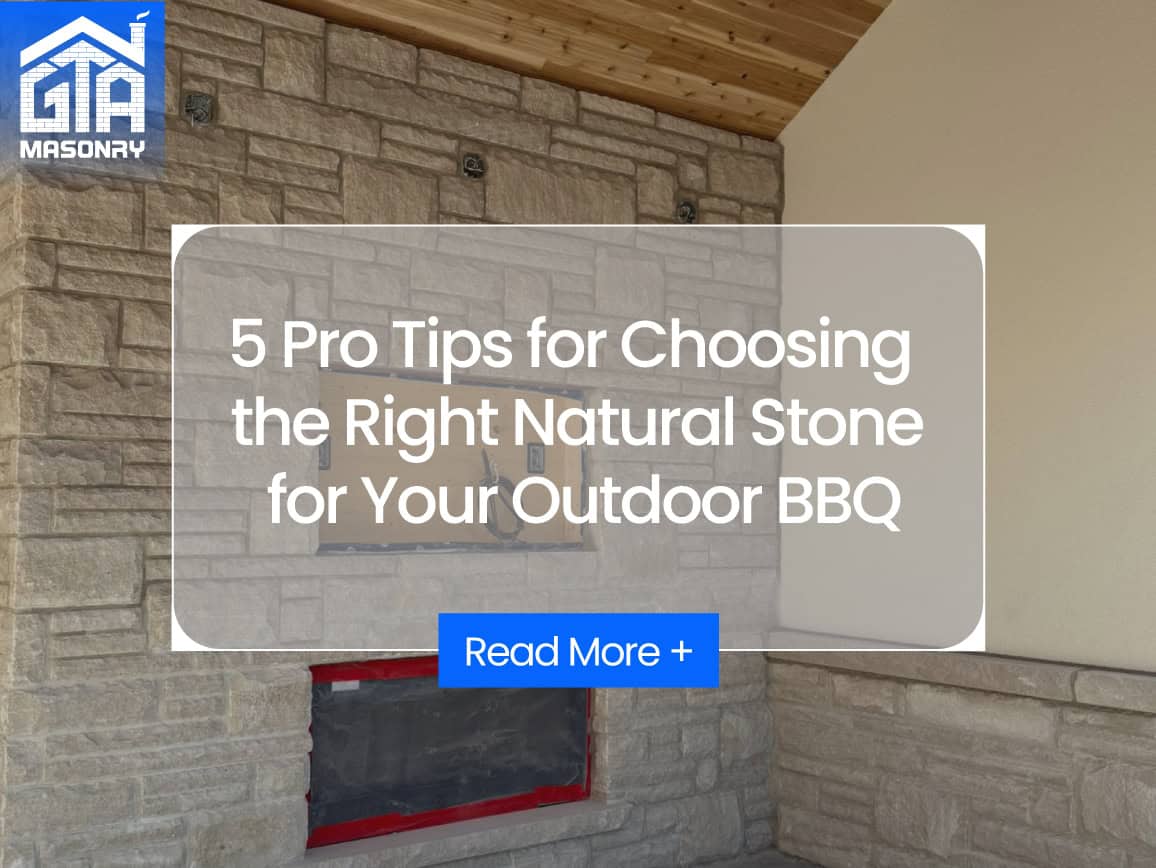
Designing an outdoor BBQ area is one of the most rewarding backyard upgrades you can make. It brings cooking, conversation, and the comfort of home into the fresh air. But the surface materials you choose—especially the stone around your grill, prep zones, and serving ledges—will determine how well that BBQ stands up to heat, grease, spills, and Toronto’s freeze–thaw climate. As a seasoned Toronto masonry contractor, GTA Masonry builds outdoor kitchens that look stunning on day one and stay that way for years. Below, we break down the five decisions that matter most when selecting natural stone for your BBQ.
Tip 1: Match Stone Type to Real-World Performance
Every natural stone brings a distinct blend of heat tolerance, porosity, hardness, and maintenance needs. Your BBQ zone will see hot cookware, oil splatters, citrus and wine acids, and UV exposure—so choose accordingly.
- Granite: The go-to for outdoor counters and grill surrounds. It’s dense, heat-resistant, and available in a huge range of colours. When paired with a good penetrating sealer, granite shrugs off grease and sauces.
- Quartzite (natural): Often harder than granite with beautiful veining that reads “high-end.” Great resistance to abrasion; requires sealing like granite.
- Basalt / Bluestone: Charcoal tones and fine grain deliver a modern look. Thermal/flamed finishes add grip for serving ledges and walkways.
- Soapstone: Exceptionally heat-resistant and nonporous; ideal near grills. Softer surface means it can scratch but is easily reconditioned with light sanding and oiling for a rich patina.
- Slate: Naturally cleft texture is slip-resistant for flooring. Use with caution for counters; choose denser varieties and seal well to mitigate flaking.
- Limestone / Sandstone / Travertine: Beautiful, but more absorbent. Best for vertical cladding, low-traffic shelves, or flooring under covered areas. For counters or splash zones, expect diligent sealing and prompt cleanup.
Bottom line: For primary prep surfaces and close to the grill, choose granite, quartzite, or soapstone. Use limestone, sandstone, or travertine as accent pieces or in lower-exposure areas if you love their look.
Tip 2: Pick the Right Finish & Edge Details
Finish affects both the look and the day-to-day usability of your BBQ area.
- Polished: High sheen that showcases veining. Gorgeous, but shows fingerprints and can be slick when oily. Better for raised bars than main prep zones.
- Honed (matte): A versatile middle ground—refined without glare. Easier to keep beautiful in bright sunlight.
- Leathered / Brushed: Subtle texture that hides smudges and adds grip; ideal for “working” counters.
- Flamed / Thermal: Heat-textured finish used mostly on paving and steps; excellent traction near grills and sinks.
Edges matter for safety and longevity:
- Profile: Eased or small-radius bullnose edges resist chipping and are kinder to hips and glassware.
- Drip Groove: Rout a small groove under counter overhangs to stop rainwater or spills from tracking back to cabinet faces.
- Overhang: Keep it modest (25–40 mm) unless you provide steel brackets. Larger bar overhangs require concealed supports.
Tip 3: Design the Build for Heat, Water, and Movement
Outdoor kitchens succeed or fail on detailing—less about what you see, more about what’s under the stone.
- Substrate: We prefer CMU (concrete block) or poured-concrete cores for longevity. Metal studs with cement board can work if properly flashed and sealed, but they’re less forgiving in harsh winters.
- Clearance to Heat: Follow grill manufacturer specs for minimum side and rear clearances. Add stainless heat shields where stone meets the hottest zones.
- Ventilation: Install front and rear vents in the grill cavity to bleed heat and propane. Heat build-up is a silent stone killer.
- Water Management: Pitch horizontal stone at ~1.5% away from cabinets and walls. Flash vertical-to-horizontal transitions; include weep paths behind cladding.
- Movement Joints: Use silicone or hybrid sealants at long runs, corners, and dissimilar-material junctions. Mortar every joint solidly but let the assembly flex where it needs to.
- Fasteners & Anchors: Use stainless steel only. Galvanized hardware can stain natural stone over time.
Tip 4: Seal Strategically (Food-Safe, Breathable, Maintainable)
Sealers don’t make stone “bulletproof,” but the right product dramatically reduces staining and simplifies clean-up.
- Penetrating (Impregnating) Sealers: Silane/siloxane or fluoropolymer formulas repel oil and water without changing texture. Choose food-safe products for counters.
- Avoid Thick Topical Films Outdoors: Film-formers can peel under UV and trap moisture—especially risky in freeze–thaw seasons.
- Maintenance Cycle: Expect to re-seal high-use counters every 1–3 years depending on stone type and exposure. Test by beading water on a clean surface—if it doesn’t bead, it’s time.
- Spot Protection: Keep a stone-safe poultice on hand for emergency grease or wine spills; the faster you treat, the better the result.
Tip 5: Plan for Cleaning, Winterization, and Everyday Life
Your BBQ zone should be as easy to live with as your indoor kitchen.
- Daily Use: Wipe counters with a pH-neutral cleaner. Avoid acidic cleaners on limestone or marble-adjacent accents.
- Grease Management: Add a sacrificial prep board for carving and resting proteins. Use trays and heat-resistant mats near the grill to catch flare-up residue.
- Winter Strategy: Clean, reseal if due, then cover the grill and counters with breathable covers (not plastic tarps). Avoid de-icing salts directly on stone paving—use sand or pet-safe alternatives.
- Annual Checkup: Inspect caulking, reseat any loose caps, and verify slope and drainage are working. Small tune-ups now prevent expensive repairs later.
Design Ideas That Always Work
- Two-Tone Stone: Dark, leathered granite for the cook zone; lighter honed stone for the raised bar. Functional contrast and visual depth.
- Waterfall Ends: Continue the counter down the sides to protect cabinet faces and create a furniture-like statement.
- Integrated Serving Ledge: A thermaled bluestone or basalt strip behind the grill acts as a heat-safe landing zone for pans.
- Clad the Base: Use complementary stone veneer on the island body; if your base is block, finish with durable, moisture-shedding parging services for a clean, protected look.
Common Mistakes to Avoid
- Choosing by Looks Alone: A light, porous limestone might photograph beautifully but struggle near a searing grill. Put performance first in “splash and heat” zones.
- Skipping Venting: Trapped heat cracks stone and warps appliances. Vent the grill cavity, always.
- Overhangs Without Support: Stone is strong, but cantilevers need brackets. Wobbly overhangs lead to cracked seams.
- Using Indoor Sealers Outdoors: UV, heat, and rain can degrade the wrong sealer fast. Use exterior-rated, food-safe impregnators.
- Hard Mortar Everywhere: Rigid joints at every turn force cracks. Mix in flexible joints at transitions and long runs.
Budget & Lifecycle Value
Granite and quartzite typically cost more upfront than softer stones, but they pay you back through fewer call-backs, simpler maintenance, and a longer service life. Consider spreading investment smartly: put the most durable, low-maintenance stone where you cook and clean; reserve character-rich but higher-care stones for sheltered bars, backsplashes, or feature niches.
How GTA Masonry Builds Better Outdoor BBQs
Our process pairs design thinking with jobsite rigor. We start with layout options that suit your cooking style, then help you select stones that match both taste and tolerance. Fabrication includes templating for precision fits, routed drip edges, and concealed steel for confident overhangs. Installation uses frost-smart substrates, stainless anchoring, and weather-sealed transitions so your kitchen weathers every season in stride.
Ready to plan your dream outdoor kitchen? Speak with GTA Masonry—your trusted Toronto masonry contractor—and we’ll help you choose, detail, and install natural stone that performs as beautifully as it looks.
Quick Selection Cheat Sheet
- Best for counters near direct heat: Granite, quartzite, soapstone.
- Best for bar tops and serving ledges: Honed or leathered granite/quartzite; soapstone for a soft-touch look.
- Best for flooring around the BBQ: Flamed/thermal granite or bluestone; dense slate with cleft finish.
- Best accent cladding: Limestone or sandstone (sealed), or the same stone as counters for a monolithic feel.
- Must-have details: Vent panels, modest overhangs with drip grooves, exterior-grade penetrant sealer, flexible joints at transitions.
Final Thought
Choosing natural stone for an outdoor BBQ is about balancing beauty with real-life performance. Prioritize stones that handle heat and stains, select finishes that hide wear, and insist on detailing that respects water and movement. Do that—and partner with GTA Masonry—and your outdoor kitchen will become the most-loved “room” in the house.


