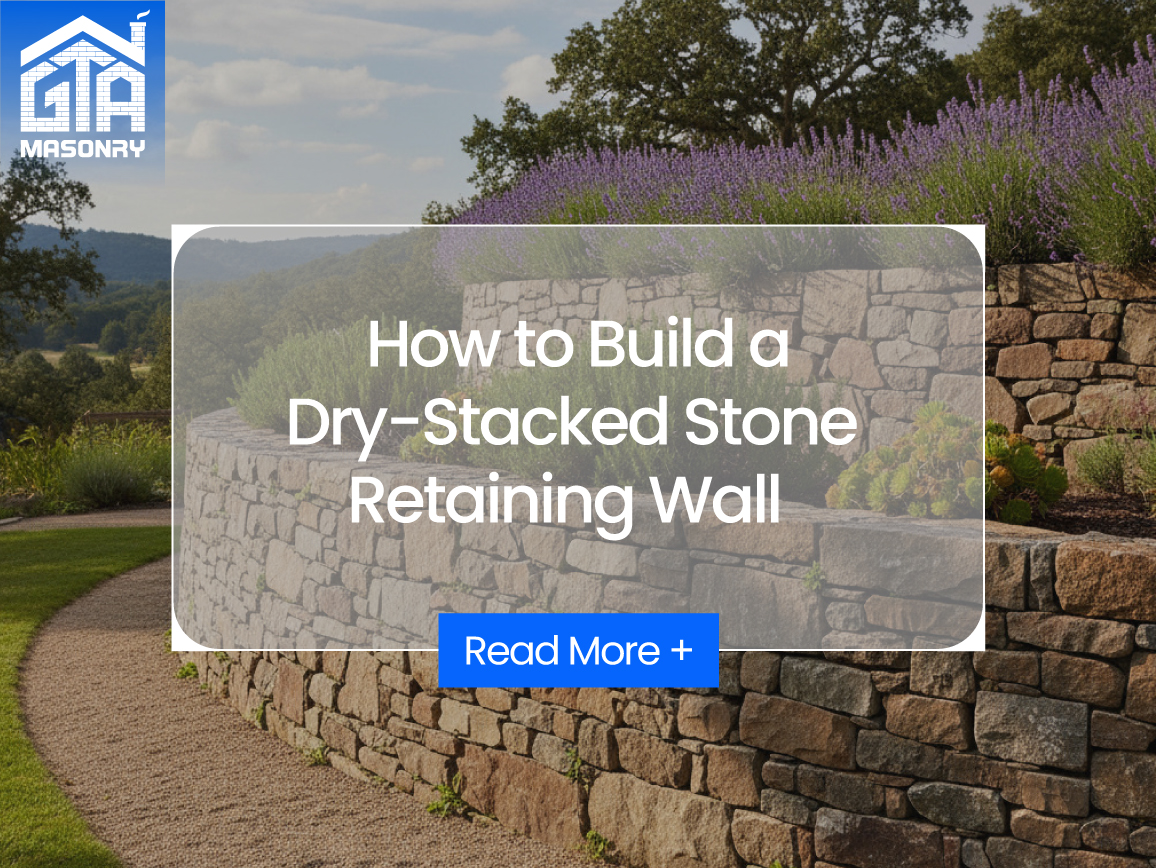
A properly detailed dry-stacked (dry-set) stone retaining wall can provide decades of service while enhancing the character of gardens, terraces, and front approaches. This guide summarizes the key decisions, materials, and steps required to build a durable wall that manages water, resists frost movement, and fits your site conditions. For complex sites or taller structures, consult a professional Toronto masonry contractor to verify engineering and local code requirements.
Dry-Stack vs. Mortared Walls: When Each Makes Sense
- Dry-stacked walls rely on gravity, mass, friction, and proper drainage—rather than mortar—for stability. They are well suited to freeze–thaw regions because the open joints relieve pressure and water can escape.
- Mortared walls can be used in mild climates or when built on a reinforced concrete footing with comprehensive drainage. In cold climates, additional base work and waterproofing are critical to avoid cracking and displacement.
Rule of thumb: For most residential landscapes in frost zones, a dry-stacked wall with excellent drainage is the lower-risk, longer-lived choice.
Planning: Measurements & Site Conditions
Before ordering materials, determine:
- Wall length and exposed height (from finished grade at the front to the top of the wall).
- Face area (length × exposed height) to estimate stone quantity.
- Soil type behind the wall—clay, sandy, or mixed subsoil. Clay requires more aggressive drainage; sands require careful compaction and containment.
- Loading at the top of the wall (parking, pools, slopes). Heavier loads may require geogrid reinforcement or engineering.
Materials Checklist (Dry-Stacked Stone Wall)
- Wall stone (flat building stone in mixed depths; include large “binder” stones)
- 3/4″ clear crushed stone (angular; do not use rounded pea gravel) for base and drainage
- High-strength landscape fabric (non-woven geotextile) to separate soil from drainage stone
- 4″ perforated drain tile with sock (or fabric wrap), plus solid pipe to daylight/sump
- Washed stone fines or HPB for fine leveling (optional, thin layer only)
- Landscape adhesive for cap stones (optional, improves stability without mortar)
- Safety gear (gloves, eye/ear protection, steel-toe boots)
Tools
- String lines, stakes, builder’s level or laser level
- Plate compactor (for base lifts)
- Shovels, rakes, hand tamp
- Masonry hammer, chisels, stone buster/splitting set
- Angle grinder with diamond blade (for trimming and radii)
- Wheelbarrow, buckets, and a hand truck or pry bars for large stones
Base Construction (Most Critical Step)
- Layout: Set string lines to define wall face and top elevation. Mark excavation limits at least 2× the wall-stone width (e.g., 24″ base width for 12″-wide stones).
- Excavate: Remove topsoil to undisturbed subgrade. Depth varies by climate and load, but allow room for:
- 6–12″ compacted 3/4″ clear crushed stone base (more for poor soils/heavier loads)
- Buried first course: plan to bury ≈10% of wall height (about 1–2″ per foot of exposed height) for toe stability.
- Base stone in lifts: Place 2″ lifts of 3/4″ clear stone; compact thoroughly with a plate compactor until no further movement is observed. Repeat to target base thickness. Achieve a 1–2% forward pitch (≈1/8–1/4″ per foot) toward the wall face to encourage drainage.
- Leveling layer (optional): Screed a thin (≤1/2″) layer of fines or HPB to assist first-course leveling. Keep it minimal so it cannot migrate.
Drainage Design (Protects Against Frost & Hydrostatic Pressure)
- Drain tile: Lay 4″ perforated pipe directly behind the first course on the compacted base, sloped 1% to daylight, a dry well, or a sump. Wrap with fabric if not pre-socked.
- Backfill with clear stone: As the wall rises, place 3/4″ clear crushed stone immediately behind the stones, keeping it cleanly separated from native soil with non-woven fabric. This forms a vertical drain chimney.
- Surface water management: Grade the ground behind the completed wall to shed water away; add downspout extensions so roof runoff does not discharge behind the wall.
Setting the Stones (Course by Course)
- First course: Use the largest, flattest stones. Seat each firmly on the base—shim with small, flat chips (not soil) to remove wobble. Take time to get this course level and straight; it governs the entire wall.
- Batter (setback): Step each course back ≈1/4″ per course (or maintain a 5–10° batter using a batter board). A slight batter resists outward tipping.
- Bonding pattern: Stagger vertical joints. Keep ≥4″ between vertical joints on adjacent courses. Avoid long running seams and “stacked” joints.
- Through-stones (bond stones): Every 3–4 linear feet and every few courses, place a long stone that reaches deep into the wall to tie face stones together.
- Hearting: Pack the wall core with tight, angular stone chips, not soil. Hearting locks face stones in place and increases mass.
- Shaping: Trim high points using a hammer and chisel or a diamond blade. Maintain natural faces at the wall front; avoid creating large “windows” (gaps) between stones on the same course.
- Backfill concurrently: As each course is placed, raise the drainage stone and fabric behind it to the same height, compacting lightly to remove voids.
Curves, Corners & Steps
- Curves: Use thinner stones and more frequent trimming to create smooth radii. Avoid sharp kinks; gentle arcs distribute loads better.
- Corners: Alternate long-short stones around corners to interlock the faces. Integrate through-stones at and near corners.
- Steps/Transitions: Where grade drops, step the base and the first course down together; do not “ramp” stones across base steps.
Capping the Wall
Finish with wider, heavier cap stones for a clean, stable top. Where appropriate, a bead of high-quality landscape adhesive under the caps increases resistance to displacement while keeping the assembly mortar-free.
Height Limits, Geogrid & Engineering
Unreinforced dry-stack walls typically top out at ~3–4 ft (0.9–1.2 m) safely, depending on stone size, base width, and soil. For taller walls or walls supporting driveways, pools, or slopes, design may require stepped terraces, geogrid reinforcement, or engineered solutions. When in doubt, consult a qualified contractor.
Common Mistakes to Avoid
- Insufficient base depth or compaction
- No drainage pipe or using rounded backfill stone
- Burying weep paths with fabric or fines
- Vertical joints aligned over multiple courses
- No batter (perfectly plumb walls are more likely to tip)
- Filling the core with soil (invites water and settlement)
Maintenance & Seasonal Care
- Inspect after major rains and spring thaw; re-seat any shifted caps or face stones.
- Keep vegetation off the wall face; roots can pry stones apart and trap moisture.
- Confirm downspouts and surface grading are still directing water away from the backfill zone.
- Top up drainage stone at the back if settlement occurs; maintain fabric separation.
Safety & Permits
Wear PPE (gloves, eye/ear protection, steel-toe boots). Use mechanical assistance for heavy stones. Check local bylaws—walls above certain heights or near property lines often require permits or engineer approval.
When to Bring in a Professional
Site constraints (tight access, steep slopes), walls above 4 ft, pool adjacency, or structural loads at the crest are triggers to involve a specialist. GTA Masonry builds natural-stone terraces, garden walls, and steps with the detailing that keeps them stable through Ontario winters. If your project includes adjoining patios or walkways, our flagstone patio service team can integrate matching materials for a cohesive landscape.
Summary
A long-lasting dry-stacked retaining wall is less about mortar and more about fundamentals: a wide, compacted base; continuous drainage; thoughtful stone selection and batter; and disciplined jointing. Execute those elements well and your wall will handle seasonal movement, shed water, and look better with age. For design support or turnkey construction, contact GTA Masonry—your trusted Toronto masonry contractor.


