Tuckpointing isn’t just cosmetic—it’s one of the most important maintenance tasks for any brick structure. Whether you’re preserving a century-old façade or keeping your modern masonry in good shape, knowing when and how tuckpointing works could save you thousands in future repairs. As masonry professionals, we’ve seen firsthand how much damage neglected mortar joints can cause—and how effective a proper tuckpointing job can be.
What Is Tuckpointing?
Tuckpointing involves removing deteriorated mortar from between bricks and replacing it with new mortar to restore both structural integrity and appearance. Traditionally, the term refers to using two contrasting mortar colors—one to match the brick and another to create a fine, crisp joint line. These days, especially in North American practice, it’s often used more broadly to mean any process of cutting out and repointing damaged mortar.
Why It Matters
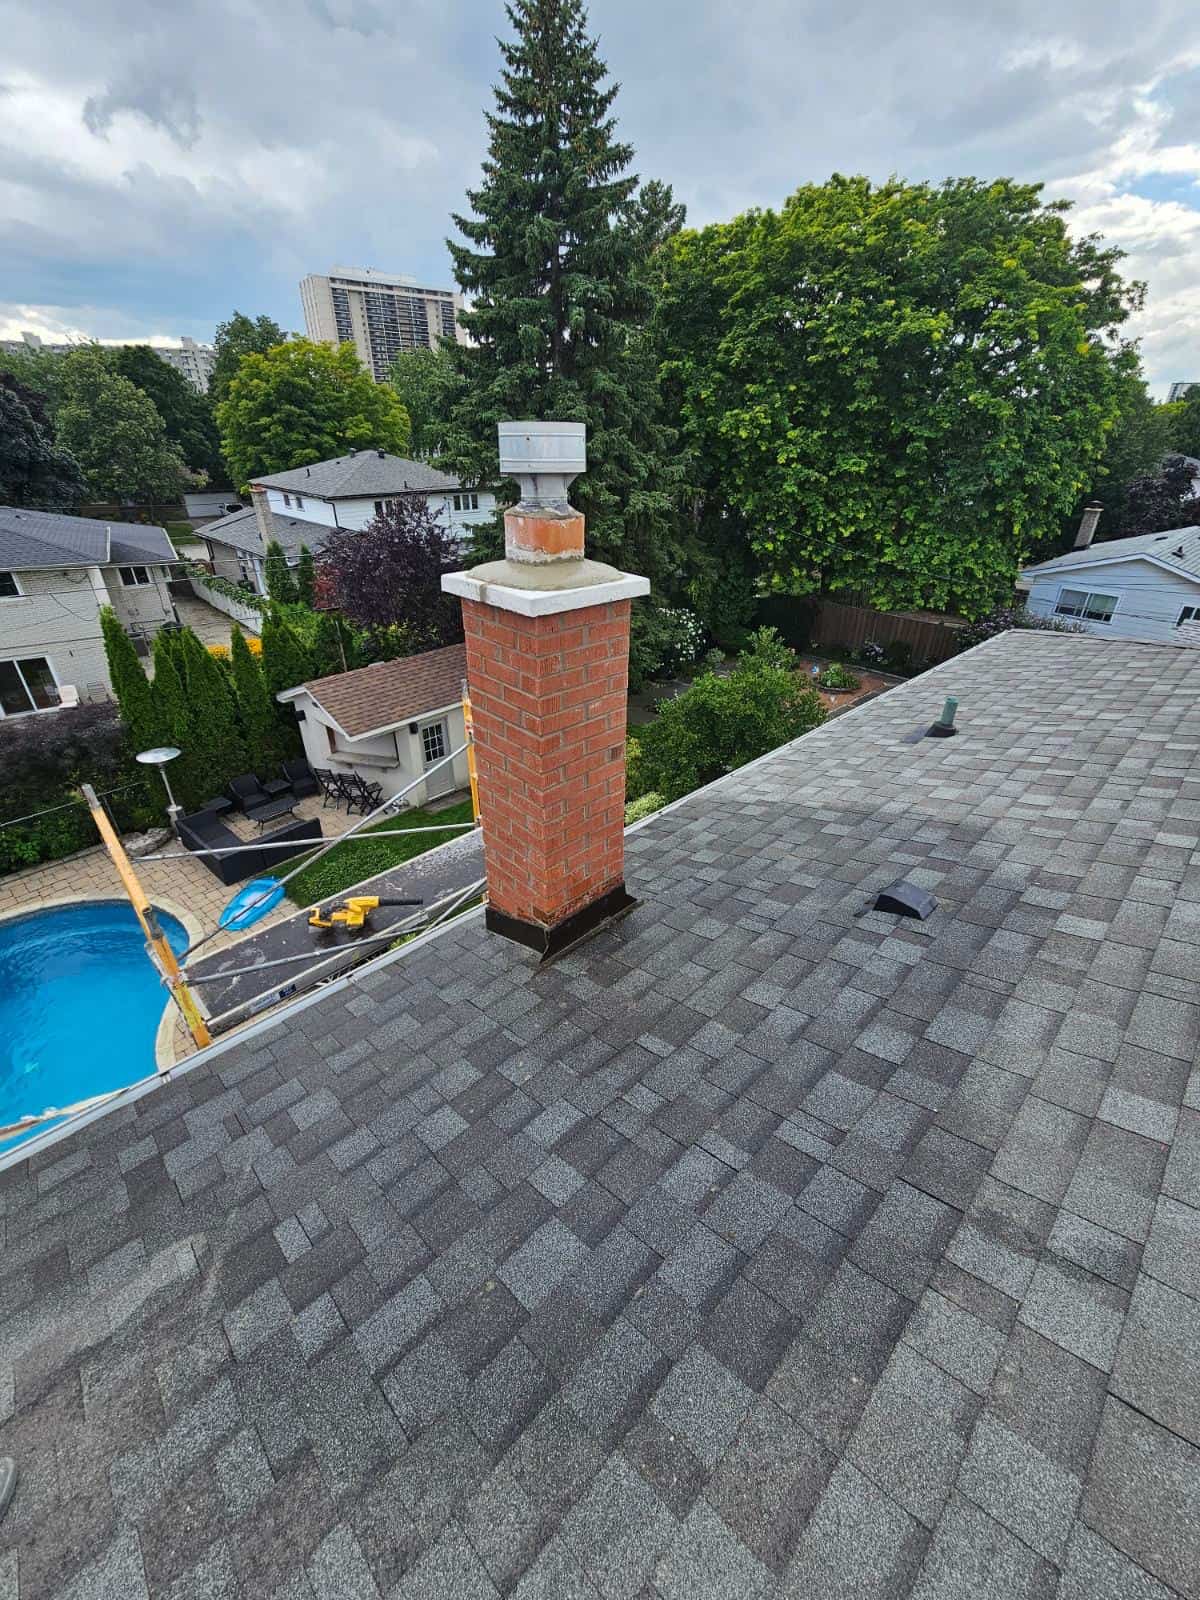
Mortar isn’t just filler—it holds your walls together, distributes weight evenly, and keeps moisture out. Once it starts crumbling, water seeps in. That’s when you start seeing cracked bricks, interior leaks, frost damage, and in extreme cases, collapsing chimneys or bowed walls. Tuckpointing fixes the weak points before they compromise the structure.
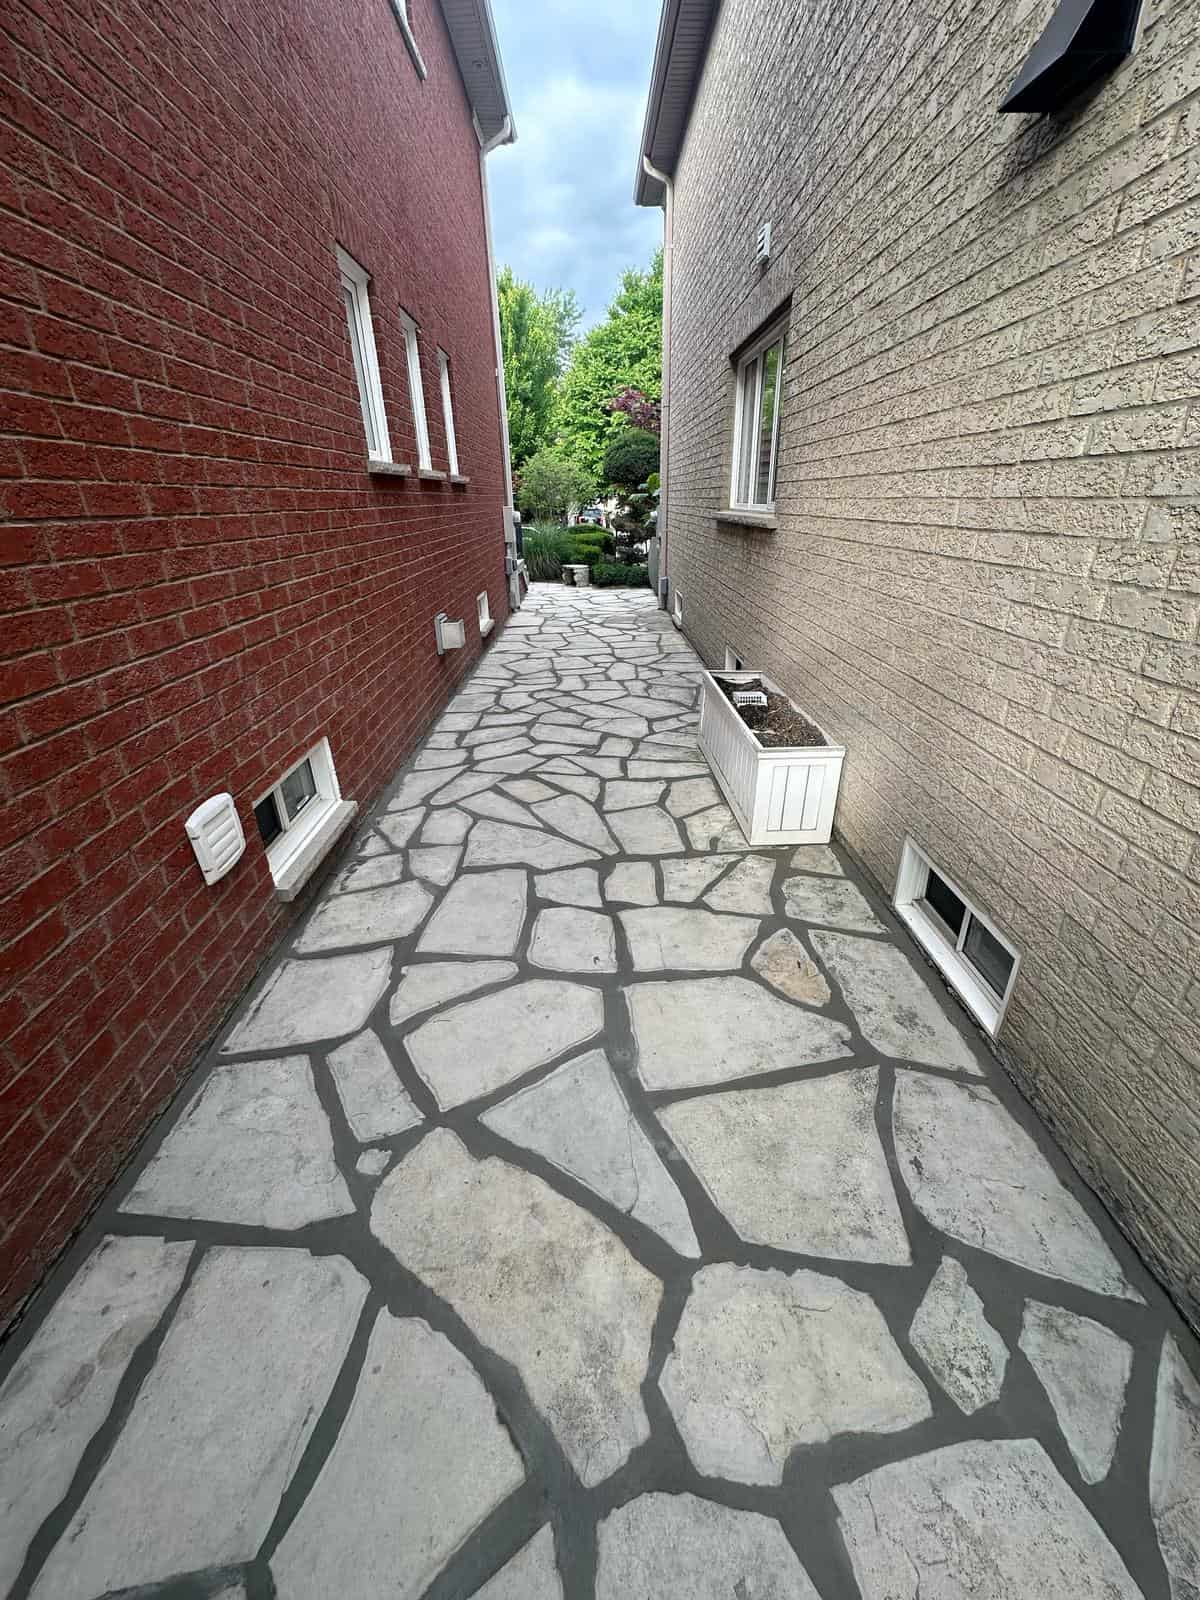
It also boosts curb appeal. We’ve worked on plenty of homes where the only difference between an “aged” and “elegant” look came down to clean, consistent mortar lines. If your brickwork looks faded or patchy, fresh tuckpointing can give it a brand-new feel—without the cost of rebuilding.
When Does Tuckpointing Need to Be Done?
The most obvious signs are cracks, missing mortar, or pieces flaking out of the joints. But don’t wait until your wall is crumbling. Hairline cracks, staining around joints, or a spongy texture to the mortar can all indicate deeper issues. We recommend checking your masonry at least once a year—especially before and after winter.
In our experience, tuckpointing done well can last up to 30 years. That said, homes exposed to coastal weather, heavy freeze-thaw cycles, or consistent moisture may need attention more frequently.
How Tuckpointing Works: A Step-by-Step Overview
There’s no shortcut here. Quality tuckpointing requires care, timing, and the right tools. Here’s what we typically do on-site:
1. Inspection & Planning
We start by assessing the damage. Are the bricks still solid? Is there evidence of water intrusion or foundation shifting? This determines if we’re only repointing, or also replacing damaged bricks or sealing gaps.
2. Mortar Removal
Using a grinder, hammer, or chisel, the old mortar is removed to a depth of at least ¾”. This ensures the new mortar bonds properly. Rushing this step is a common DIY mistake—we take the time to clean out every joint thoroughly.
3. Cleaning the Joints
All joints are scrubbed with wire brushes and blown clean with compressed air or rinsed with water. A clean surface makes a strong bond—it’s that simple.
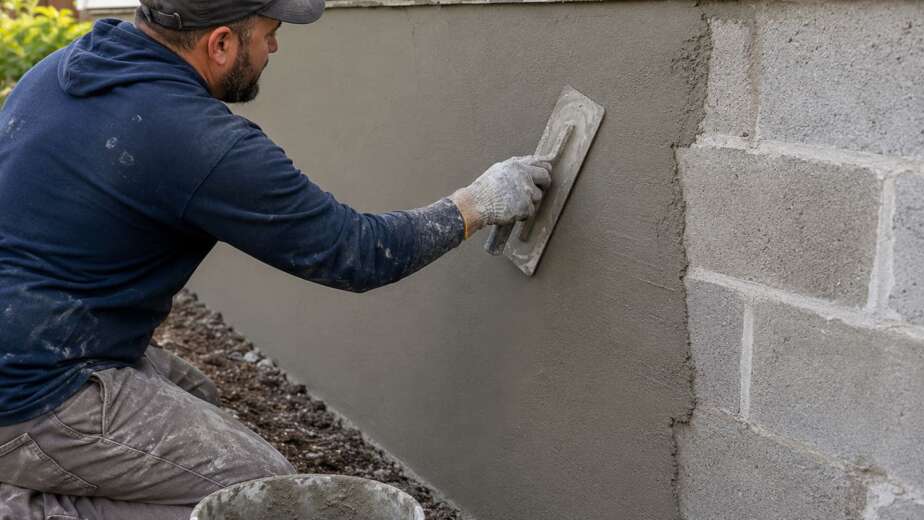
4. Mixing New Mortar
Matching mortar isn’t just about color. Older homes often use lime-based mortar, which is softer and more flexible than modern cement blends. Using the wrong mix can cause more damage than it solves. We test and adjust mixtures until the texture and color blend seamlessly with your existing wall.
5. Applying the Mortar
Mortar is packed into the cleaned joints using a pointing trowel, making sure it’s tightly compacted without gaps or air pockets. For large projects, we sometimes use a mortar bag to save time without sacrificing quality.
6. Finishing the Joint
The profile matters. A concave joint, for example, isn’t just good-looking—it sheds water more effectively than a flat or raked joint. We tool the joints before the mortar fully sets to create a clean, uniform appearance.
7. Curing
Fresh mortar needs to cure slowly. That’s why we mist the wall or cover it with burlap, especially in windy or hot conditions. Rushed curing leads to cracks—and redo work.
Can You Tuckpoint It Yourself?
You can, but it depends on the scope. Small spot repairs—like one or two bricks—can be tackled with basic tools: a chisel, mortar mix, a pointing trowel, and safety gear. Matching the color and texture, however, is where most DIY jobs fall short. If you’re fixing something visible (like your front porch or façade), it’s worth calling in a pro. Trust us—it’s obvious when it’s done wrong.
When to Call an Expert
If the damage is widespread, the wall is load-bearing, or the mortar is older than you are—get professional help. Tuckpointing isn’t just about slapping on new mortar. It’s about preserving the wall’s structural and aesthetic value, and doing that takes skill and experience.
Weather is another factor. Mortar shouldn’t be applied during freezing temperatures or extreme heat. A good mason will time the job right and use covers or hydration techniques to keep things curing properly.
At GTA Masonry, we’ve handled everything from 100-year-old church facades to small garden walls. If your brickwork needs attention, get a free quote—we’ll give you an honest assessment and a long-lasting fix.